Session 1
This class was an introductory session to the basics of digital designing. Our faculty member- Mr.Jai Ranjit introduced us to the adobe creative cloud software. This software has many components such as illustrator, photoshop, premiere, after effects, etc which have specific purposes to play in the roles of digital marketing, film making, animation and interface designing. Adobe Illustrator is software that is recurrently used as an industry standard for ideating and creating visuals, fonts, illustrations for designing logos, digital branding, advertising, and marketing. Adobe Photoshop, on the other hand, is used in the photographic and film industries for mainly editing, rendering and beautifying purposes. The software is capable to manipulate and create Computer Generated Imagery aka CGI’s using various paths onto pre-existing imagery and to add certain missing features to enhance images or to distort them completely. The two softwares are the essential basis for ideation stages and are highly effective tools with innumerable capabilities.
This class was one where I understood and learned the full forms and usages of commonly used different file extension formats such as jpg-joint photographic experts group, png-portable network graphics, pdf-portable document format. Along with which I understood the difference between RGB and CMYK printing and display methods. RGB is used in the standard method of producing colour images on screens, such as TVs, computer monitors, and smartphone screens. This printing method usually requires the design to be in a lighter colour as the print on this mode is a dark one and makes the colour a tone or two darker than the originally exported artboard. CMYK format is used generally for printed media.RGB and CMYK are also in principle known as an additive and a subtractive colour respectively methods in the colour theory. The additive colour theory states that the three pure colours mentioned above add up to white, whereas on the other hand, The subtractive colour theory states that when the aforementioned colours are mixed they give out the colour black. I also comprehended the differences between a raster and a vector image. Raster images are those which are made up of many tiny pixels which blend together to form a clear image, these images are not scalable beyond a point as the quality then begins to deteriorate if it is scaled beyond their original pixels value. Vector images are made up of different mathematical paths and are somewhat limited in their details and effects that can be included but unlike raster images, they are scalable infinitely and these images do not lose their quality when they are scaled up to extremely high levels. They are very high in resolution and are therefore effective in large poster designs for advertising purposes during festivals or on general advertising campaigns on massive screens.
After understanding these terms we started to understand the basic tools and components of our software and were given the task to use shapes and lines to illustrate a composition and print it out. Our Sir also instructed us to start thinking in “negative spaces” and to try and fail as many times as possible with the software. As this is the only way we would be able to learn the tool and get better at it eventually. I then tried to get my hands on Illustrator but failed at it miserably time and again trying to create simple objects as instructed, at first I thought it would be easy as Figma- a free software similar to Illustrator for windows for beginner use. But it was not the case, I find illustrator a far more complicated tool with a lot of complex inbuilt features meant for specific purposes that I do not know of as yet. Hopefully, with regular practice and application, this will soon become second nature to me otherwise I am doomed.
Session 2
In the following imaging session, I was taught how to manipulate objects using the pathfinder tool. This tool has various purposes and can manipulate groups of objects in different ways. Using this tool and a few others we started on our assignments to create posters using gestalt’s principles namely; Figure-ground, Closure, Continuance, The Law of Common Fate, Similarity, and Proximity.

This was my first try at creating a gestalt image poster. The story behind this was that I had just moved from Pune to Mumbai and now all my meals were packed in the Dabba as illustrated in the above image. I dint quite like the Dabba food and I used to skip meals daily before the 8 am imaging class and I hated the dinner food with all my heart. It was very unlike home-cooked food and was atrocious to my stomach and taste buds.
Due to my distaste and starvation, I decided to put this up as a poster in a blue colour gradient to show my heartfelt sadness in the image. I have used the gestalt principles of similarity and closure in the above image.
SESSION 3
In this class, we were taught a few more cool effects such as the pucker and bloat effect which enlarged or cramped up certain objects making them look amusing and distorted We also learnt how to use the drop shadow and feather tool. In this lesson, I tried to create a poster using one of my favourite bands as my muse and create a poster for them.
I created a poster while listening to the heavy metal/rock band “Bring me the Horizon” The colours and shapes used in the image above are my interpretation of their music, lyrics and style. I have used triangles and gestalt principle of figure and ground to illustrate eyes from one of my previous compositions in b&w. It was a tough time using the lines in the composition but I managed to do so after a few hours of work. I also tried to create my gradient to fill the lines to express my thoughts while listening to their music. The font used in my poster is the front man script.
SESSION 4
In this session of imaging, we were taught two key tools of Illustrator namely: Masking and Image tracing. These two tools respectively are highly useful, time-saving tools that help Designers and illustrators capture pictures and transform them into vectors easily.
Applying my new-found knowledge I tried to create another poster using Gestalt’s theory;
Applying my new-found knowledge I tried to create another poster using Gestalt’s theory; A reference from one of my favourite Netflix show “Rick and Morty”. While making this poster I found it particularly difficult to play around with the image trace tool. It was a tough task at first as there was an infinite number of paths making my job infinitely tougher. Nevertheless, I tried to work with the layers individually and come up with this poster while referring to a similar psychedelic poster.
Session 5
In this session of imaging, we were given a recap on the various tools and techniques on how to use illustrator. We were taught how to add texts to paths, areas and were explained the process opaque masking again.We were assigned to complete a poster within class hours today. While doing this poster in particular I realised the importance of having a clear theme in one’s mind before starting to use the tools of illustrator.
I broke my head searching for cool VFX graphics and images on the internet but found no ideas. I was wasting my time trying to create something aesthetically pleasing at first but was going nowhere further with any substantial ideas. I then just took a pen and a paper and did it the simple way- wrote down my ideas. And Voila! I then took a simple idea of just creating a poster of one of my favourite artists- Post Malone. This lesson taught me to make my idea tangible before trying to create anything.
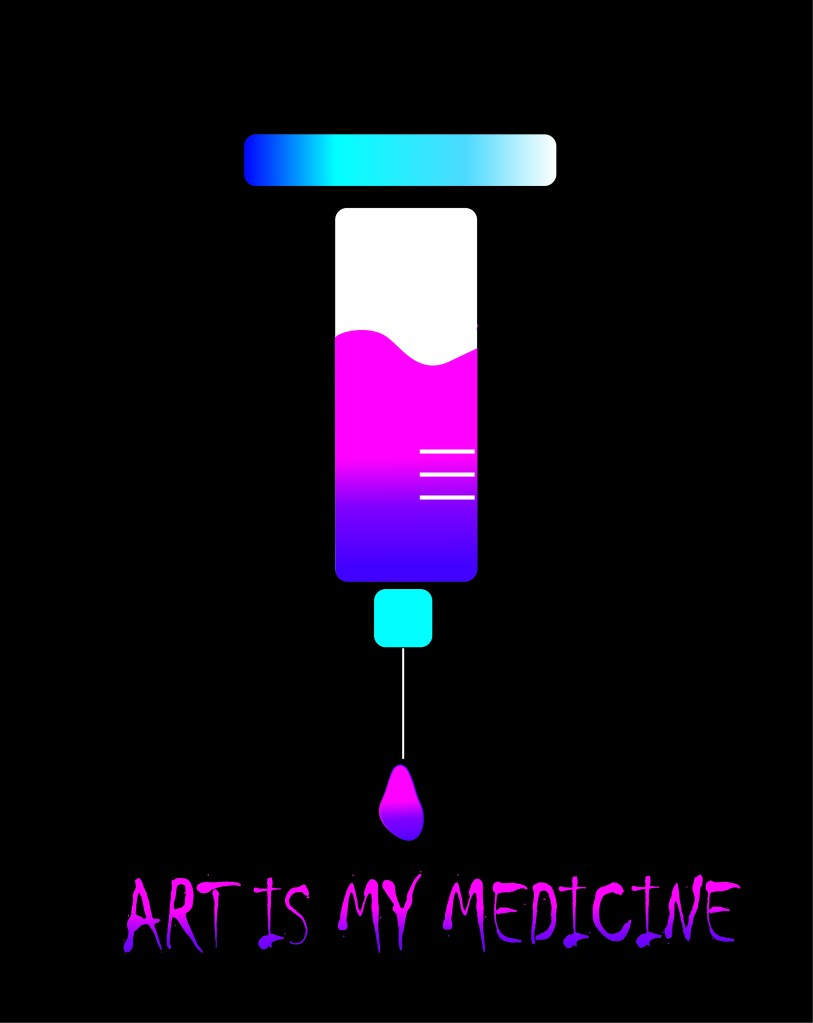
The above poster was one which I made while I was trying to play around with gradients and gestalt’s theory. I genuinely like the colour scheme of dark pink purple and blue a lot. Hence I created the above visual saying that “Art is my medicine ” using a clipping mask and the simple shape and gradient tool.
Session 6 & 7
In the following lesson, we were introduced to the tools of Adobe Photoshop. A software that is used to edit raster-based images to enhance and turn them to perfection. It was a bit of a struggle for me to grasp the tools and techniques on how to operate the software at first.
According to me it was a lot different compared to Illustrator and was far more complex to understand at first. In the following class, I had learned how to create gifs, how to draw inside objects.
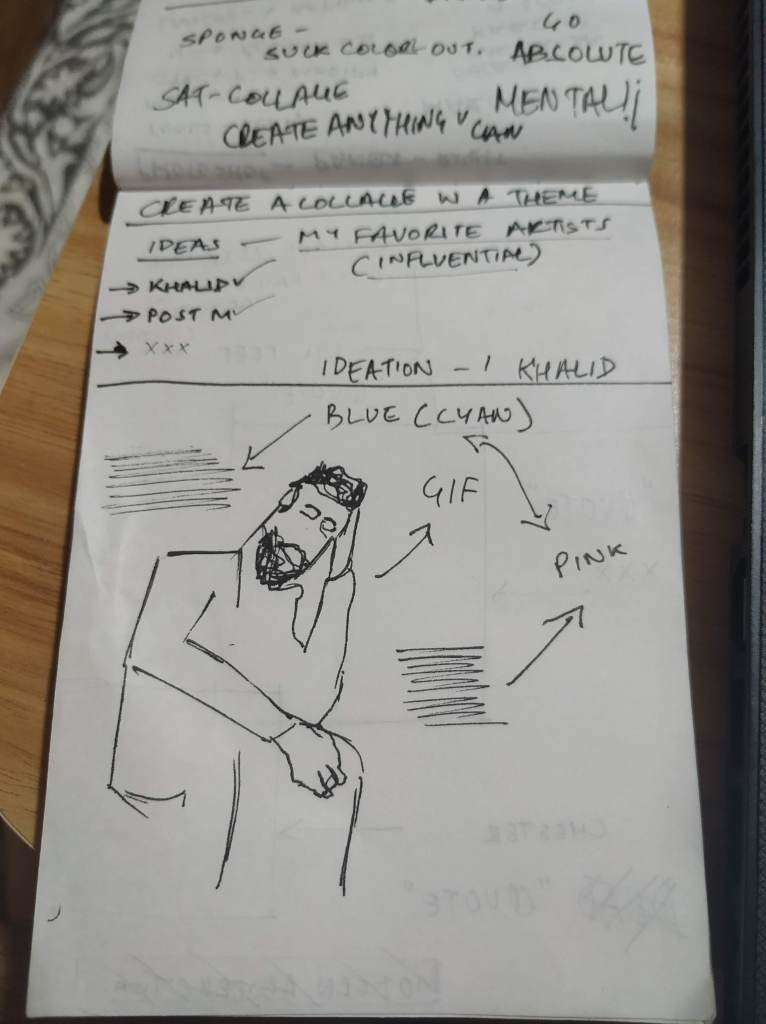
We were assigned to create a thematic collage in the lesson as an assignment. At the end of the class, I managed to create a gif on my favourite artist Khalid.

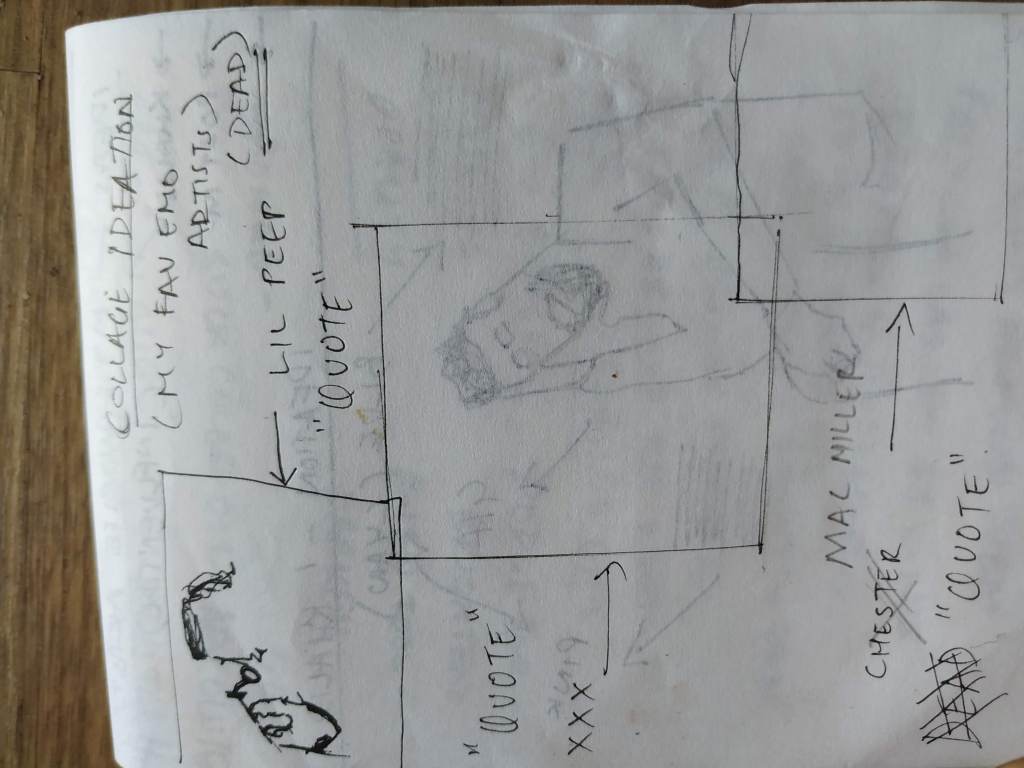
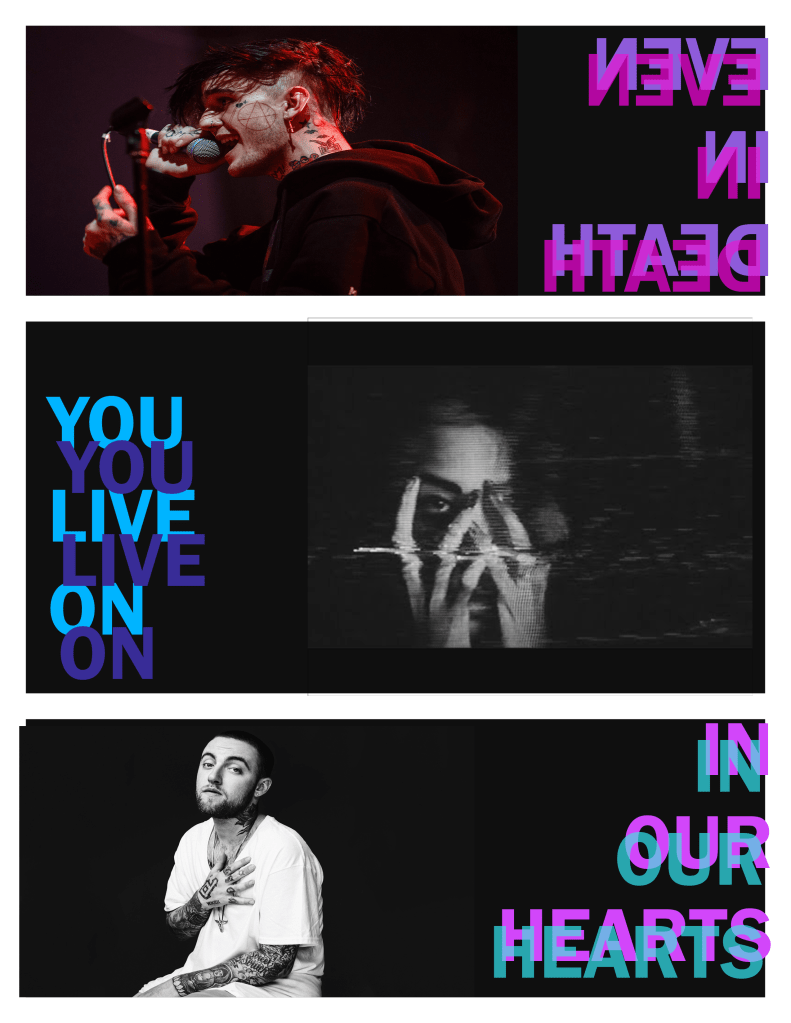
Along with the gif we were also assigned to create a collage based on any theme that we would like to choose. I created one based on the theme of my favourite emo rap artists that have passed away but continue to live in my heart.
Session 8
I was not present for the following imaging lecture. To complete the given assignment I had requested Jai Sir’s help to brief me on the deliverable. I was told to create a movie poster on the movie of my choice using only objects and minimal text without using any image hinting to the actors or actresses or characters in the movie.
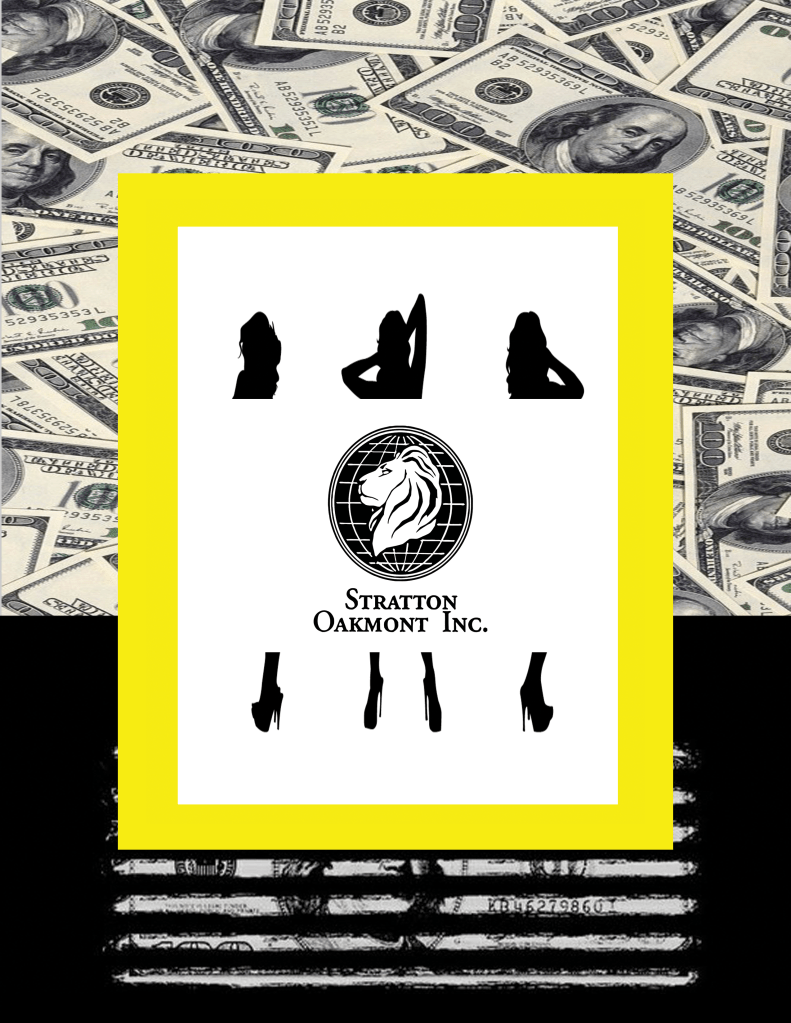
I created the following poster on one of my favourite movies titled “The Wolf of Wall Street.”
To represent the movie in its true essence I tried to capture the main elements in my poster- Money, Women and the Illicit activities behind the doors of the company named Stratton Oakmont.
Session 9
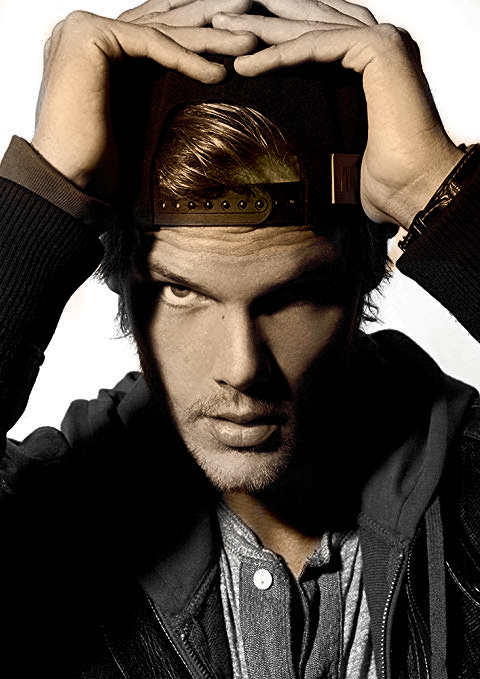
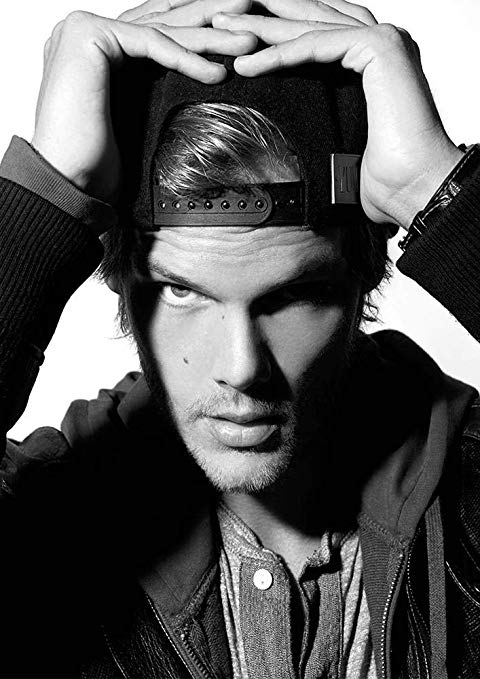
In this Imaging lesson, we were taught how to colourise a black and white portrait picture. According to me, It was a tough process that required learning and mastering many steps.
This class was one where I was required to understand and do the “non-cool” aspects of design, one where the work gets complicated by each step and requires knowledge and understanding about the ethnic background of an individual and the right usage of appropriate colours in the background.
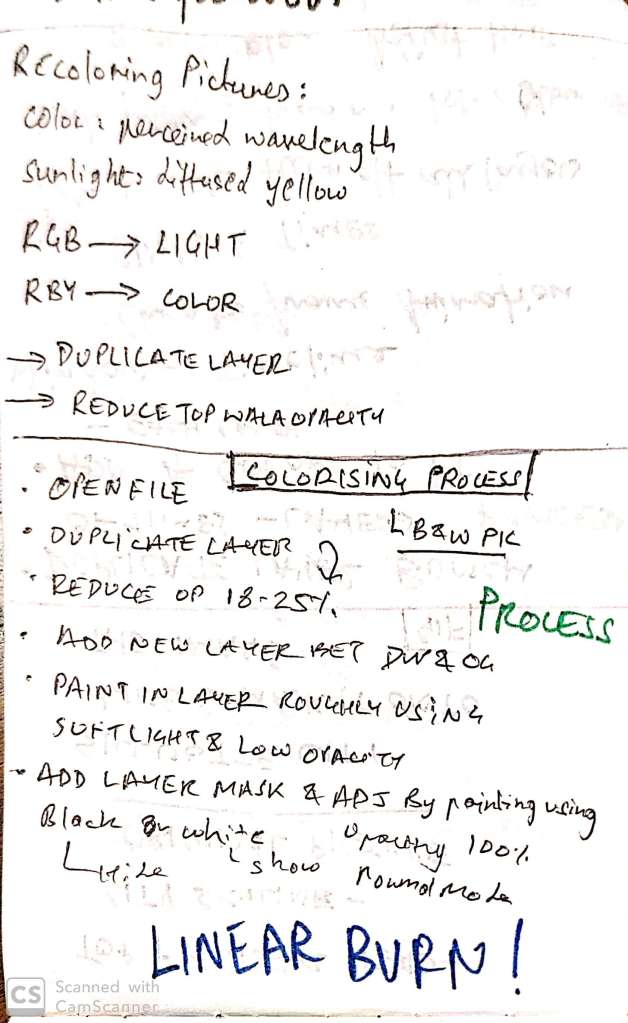
I being a very impatient person, found this task to be a very slow and drudging step by step process. I’m the type of person who likes to complete a task in one sitting instantly and usually, I’m not very patient with process work and checkpoint progressions.
To make things easier for myself, I just noted down all the steps required to complete the process. This way at least I could keep track of each step and be more patient in the completion of the task.
This lesson taught me the importance of having some patience and completing a task in smaller bits and pieces rather than in one large chunk.
Session 10
In the following Imaging class, we began the ideation stage of our zines. The concept I chose was “the creation of a villain”. In my concept, my basic story revolves around the backgrounds and the circumstances that ultimately lead to the manifestation of terror and villainous individuals. It deals mainly with the detrimental mental effects of an individual caused due to pressuring societal metrics. In the story, the protagonist is a boy who then becomes the antagonist due to the background society creates. It deals with issues such as bullying, recurring themes of non-acceptance of society even long after an individual decides to make a change in oneself and lastly the birth of a villain due to the failure of “fitting in” to the societal metrics.
The first ideation was a rough sketch with a few subtitles to show the concept. I chose the first two thumbnails to be that of the bullying of the protagonist at an early stage in life and him getting beaten up at school over the reason of him being overweight. The rest of the zine, I sketched the thumbnails with the intent of showing his attempts on fitting in society and the impact when he fails to do so. Or rather society fails to accept him.